Before you start
Passing has three distinct deliveries, all on one button. A plain release plays a ground pass. Holding the lob modifier turns the same release into a lob. Holding the free-pass modifier while releasing sends the ball into open space instead of to a teammate's feet — the pass you play for a runner, not a receiver.
Step by step
What to actually do
- 01
Read your stamina before you dash
Sprint spends a finite stamina pool. A defender who dashes early has nothing left for the recovery run, so move at base speed until a burst actually wins something.
- 02
Tap for a quick pass
A tapped pass is the quick outcome: instant, safe and short. It is the right choice under pressure, when holding for more power would invite the tackle.
- 03
Hold to charge, release near full
A held pass charges through the same four outcomes as a shot — quick, charged, perfect, overcharged. Perfect release near full charge gives the best delivery; holding past full loses the safe release.
- 04
Lob over the line
Hold the lob modifier with pass to play the ball over a defender instead of through them. The same modifier with shoot plays a chip on goal.
- 05
Free pass into space
Hold the free-pass modifier while releasing to aim the pass at a point on the pitch rather than a teammate. It is how you lead a sprinter into an empty channel.
Worth remembering
- Touch players get all three deliveries too: the touch layout has dedicated ground, lob and free-space passing controls.
- Switching to the receiver early beats watching the pass travel — you arrive controlling the striker who matters next.
See it in the build
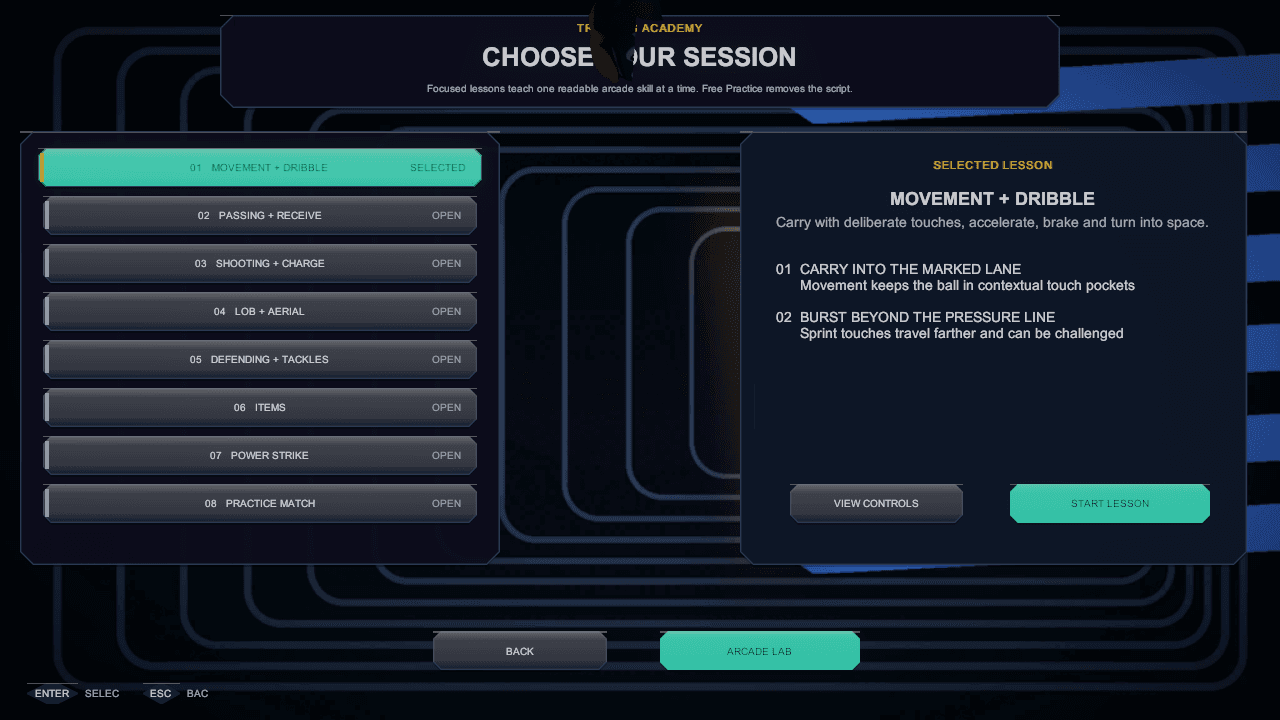
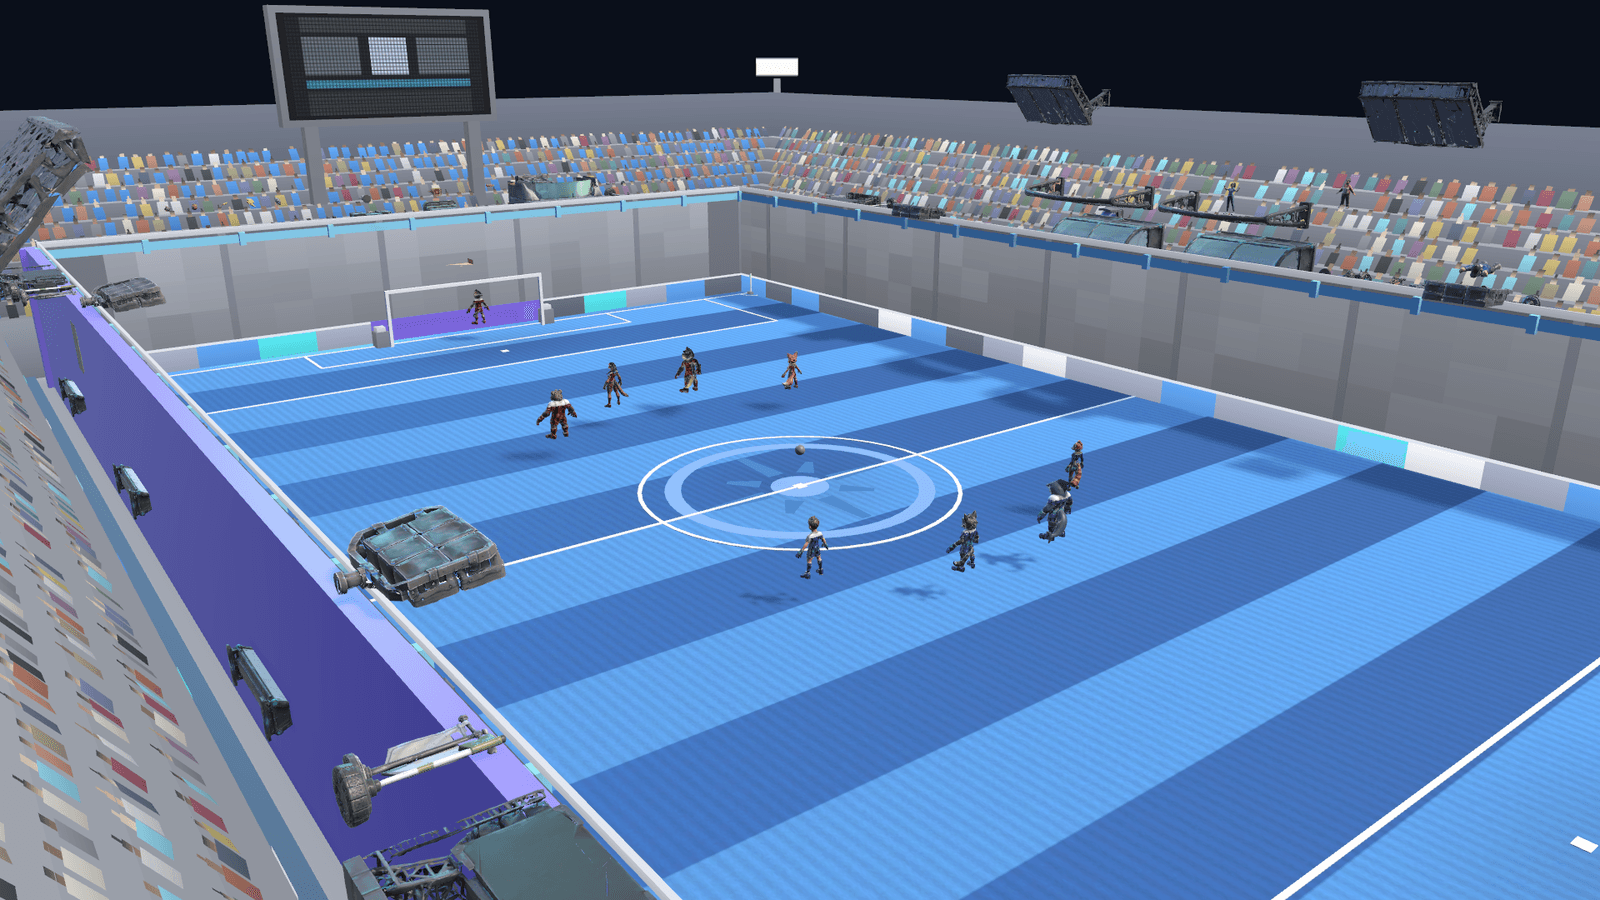
In-engine captures of the screens this chapter refers to, from the governed screens gallery.