Before you start
Shots are aimed at a three-by-three grid across the goal mouth. Assisted aim picks the zone from your input — low-left through high-right — so a shot's placement is a decision you made, not a dice roll you watched.
Step by step
What to actually do
- 01
Know the grid
The goal is divided into nine zones: three columns, three heights. Every assisted shot resolves to one of them.
- 02
Aim with the mouse
On keyboard and mouse, the cursor projects onto the goal: point at the zone you want and the assisted shot targets it.
- 03
Aim with a stick
On a controller the aim is camera-relative, and a neutral stick falls back to the striker's facing — so an unaimed shot still goes where your body points, not nowhere.
- 04
Chip the keeper
Hold the lob modifier with shoot to play a chip. Combined with charge control, that gives low drives, standard strikes, rising shots and chips off the same button.
- 05
Respect the charge
Zone selection does not replace the charge outcomes: a perfect release into a corner zone is the shot the whole system is teaching you to hit.
Worth remembering
- Shots launch on shared deterministic trajectory data — low, standard, rising, chip, aerial and Power launches — so the same input produces the same ball.
- Blocks, keeper parries and rebounds stay physical: a saved shot is a live ball, not a dead whistle.
See it in the build
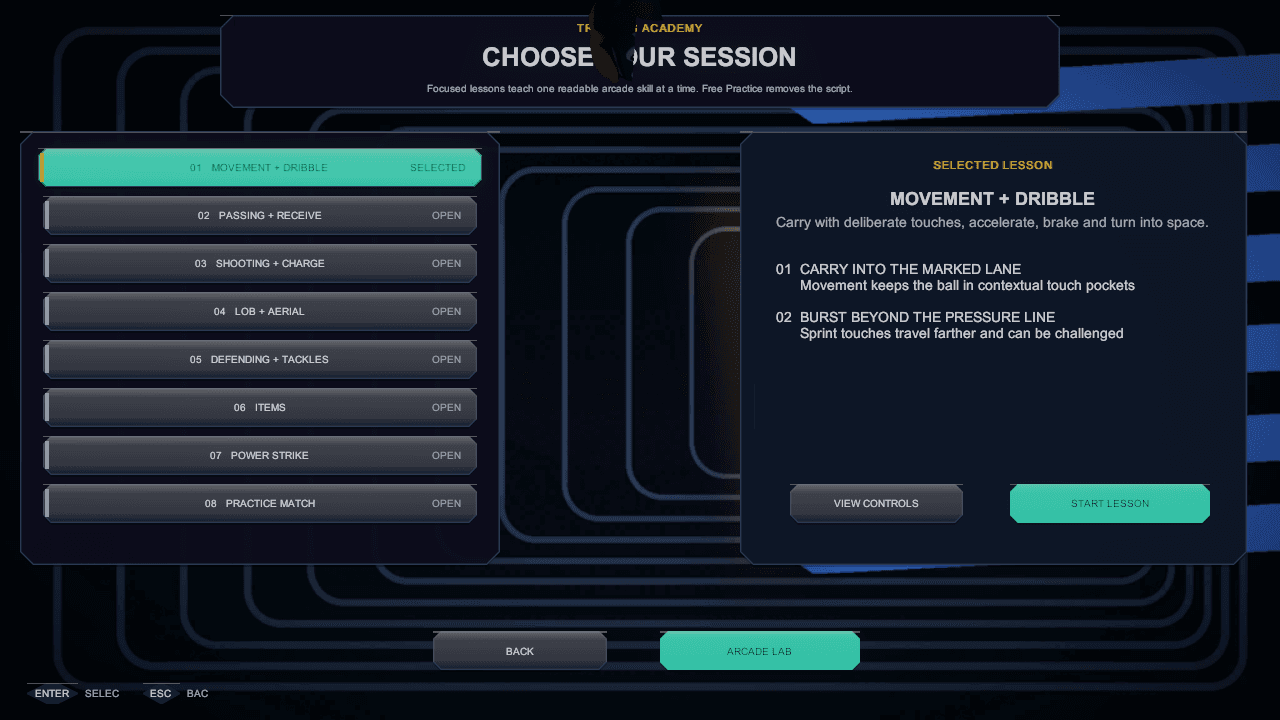
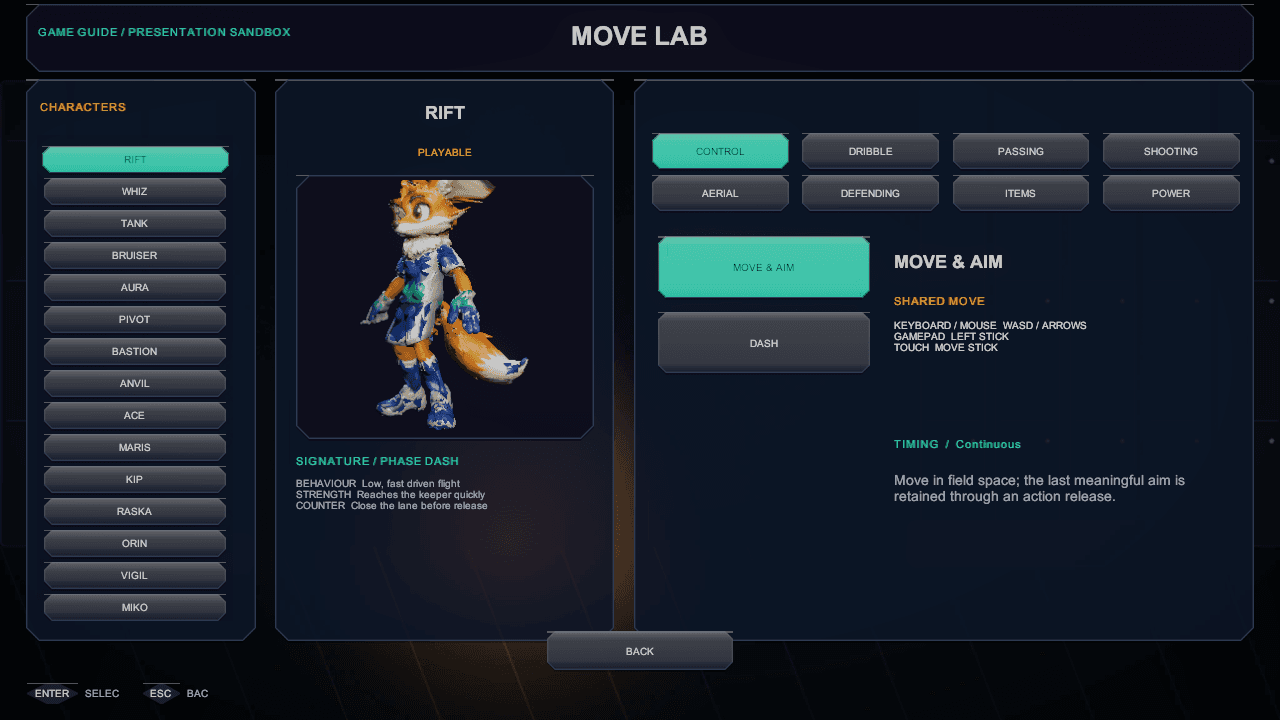
In-engine captures of the screens this chapter refers to, from the governed screens gallery.